引言
先解释一下为什么要分区。默认情况下,固件打包时会将 rootfs_data(即 overlay)的大小硬编码在镜像中。 即使你的闪存芯片有 128MB 或 256MB,如果镜像配置只分了 40MB 给 overlay,那剩下的空间就处于“物理存在但不可使用”的状态。正常官方构建的镜像可用的overlay只有25MB左右,如果想装一个Xary根本不够,所以需要重新分区。
构建步骤
注:不要使用root用户
1.安装基础依赖
1
2
3
4
5
6
7
8
|
sudo apt install -y ack antlr3 asciidoc autoconf automake autopoint binutils bison build-essential \
bzip2 ccache clang cmake cpio curl device-tree-compiler flex gawk gcc-multilib g++-multilib gettext \
genisoimage git gperf haveged help2man intltool libc6-dev-i386 libelf-dev libfuse-dev libglib2.0-dev \
libgmp3-dev libltdl-dev libmpc-dev libmpfr-dev libncurses5-dev libncursesw5-dev libpython3-dev \
libreadline-dev libssl-dev libtool llvm lrzsz msmtp ninja-build p7zip p7zip-full patch pkgconf \
python3 python3-pyelftools python3-setuptools qemu-utils rsync scons squashfs-tools subversion \
swig texinfo uglifyjs upx-ucl unzip vim wget xmlto xxd zlib1g-dev
|
2.拉取OpenWRT镜像
1
2
3
|
git clone -b v24.10.6 https://github.com/openwrt/openwrt.git
cd openwrt
|
3.配置分区表
点击这里下载mt7621_netgear_sercomm_bzv.dtsi
将mt7621_netgear_sercomm_bzv.dtsi的内容替换至openwrt/target/linux/ramips/dts/mt7621_netgear_sercomm_bzv.dtsi
修改openwrt/target/linux/ramips/image/mt7621.mk 的 define Device/netgear_r6800 的 IMAGE_SIZE 为 77824k
此处mt7621_netgear_sercomm_bzv.dtsi感谢 @韬焘
3.配置构建目标
1
2
3
4
5
6
7
8
9
10
11
12
13
14
15
16
17
18
19
20
21
22
23
24
25
26
27
28
29
30
31
32
33
34
35
36
37
38
39
40
41
42
43
44
45
46
47
48
| ./scripts/feeds update -a
./scripts/feeds install -a
make menuconfig
> LuCI > 1. Collections > luci
> LuCI > 2. Modules > Translations > zh
> LuCI > 4. Themes > Argon主题
> Base system > dnsmasq
> Base system > block-mount
> Utilities —> Filesystem —> badblocks
> LuCI > 3. Applications > luci-app-passwall
> LuCI > 3. Applications > luci-app-ddns
> Network > IP Addresses and Names > ddns-scripts-cloudflare
> LuCI > 3. Applications > luci-app-openvpn
> Network > VPN > openvpn-openssl
> Network > SSH > openssh-sftp-server
> Kernel modules > USB Support > kmod-usb-core
> Kernel modules > USB Support > kmod-usb2
> Kernel modules > USB Support > kmod-usb3
> Kernel modules > USB Support > kmod-usb-storage
> Kernel modules > USB Support > kmod-usb-storage-extras
> Kernel modules > Filesystems > kmod-fs-ext4
> Kernel modules > Filesystems > kmod-fs-exfat
> Kernel modules > Filesystems > kmod-fs-vfat
> Kernel modules > Filesystems > kmod-fs-ntfs3
> Kernel modules > Native Language Support > kmod-nls-utf8
> Utilities > Disc > fdisk
> Utilities > usbutils
> Utilities > Shells > bash
> Utilities > Editors > vim
|
4.构建
1
2
3
4
5
6
|
make download -j8 V=s
make -j1 V=s
make -j$(nproc) V=s
|
5.验证
1
2
3
4
5
6
7
8
9
10
11
12
13
14
15
16
17
18
19
20
21
22
23
24
25
26
27
28
29
30
| root@OpenWrt:/# ubinfo -d 0 -a
ubi0
Volumes count: 2
Logical eraseblock size: 126976 bytes, 124.0 KiB
Total amount of logical eraseblocks: 608 (77201408 bytes, 73.6 MiB)
Amount of available logical eraseblocks: 0 (0 bytes)
Maximum count of volumes 128
Count of bad physical eraseblocks: 0
Count of reserved physical eraseblocks: 20
Current maximum erase counter value: 5
Minimum input/output unit size: 2048 bytes
Character device major/minor: 251:0
Present volumes: 0, 1
Volume ID: 0 (on ubi0)
Type: dynamic
Alignment: 1
Size: 169 LEBs (21458944 bytes, 20.4 MiB)
State: OK
Name: rootfs
Character device major/minor: 251:1
-----------------------------------
Volume ID: 1 (on ubi0)
Type: dynamic
Alignment: 1
Size: 415 LEBs (52695040 bytes, 50.2 MiB)
State: OK
Name: rootfs_data
Character device major/minor: 251:2
root@OpenWrt:/#
|
6.注意
如果第一次刷写后发现分区大小不对,不要惊慌,保留配置再刷一次即可,如果第二次刷写分区还是不对,那可能是你没改成功
附录
nmrpflash
1
2
3
4
5
6
| nmrpflash.exe -L
eth12 10.10.100.3 1c:87:2c:64:ae:b1
nmrpflash.exe -i eth12 -f R6800.img
nmrpflash.exe -i eth12 -f R6800.trx
|
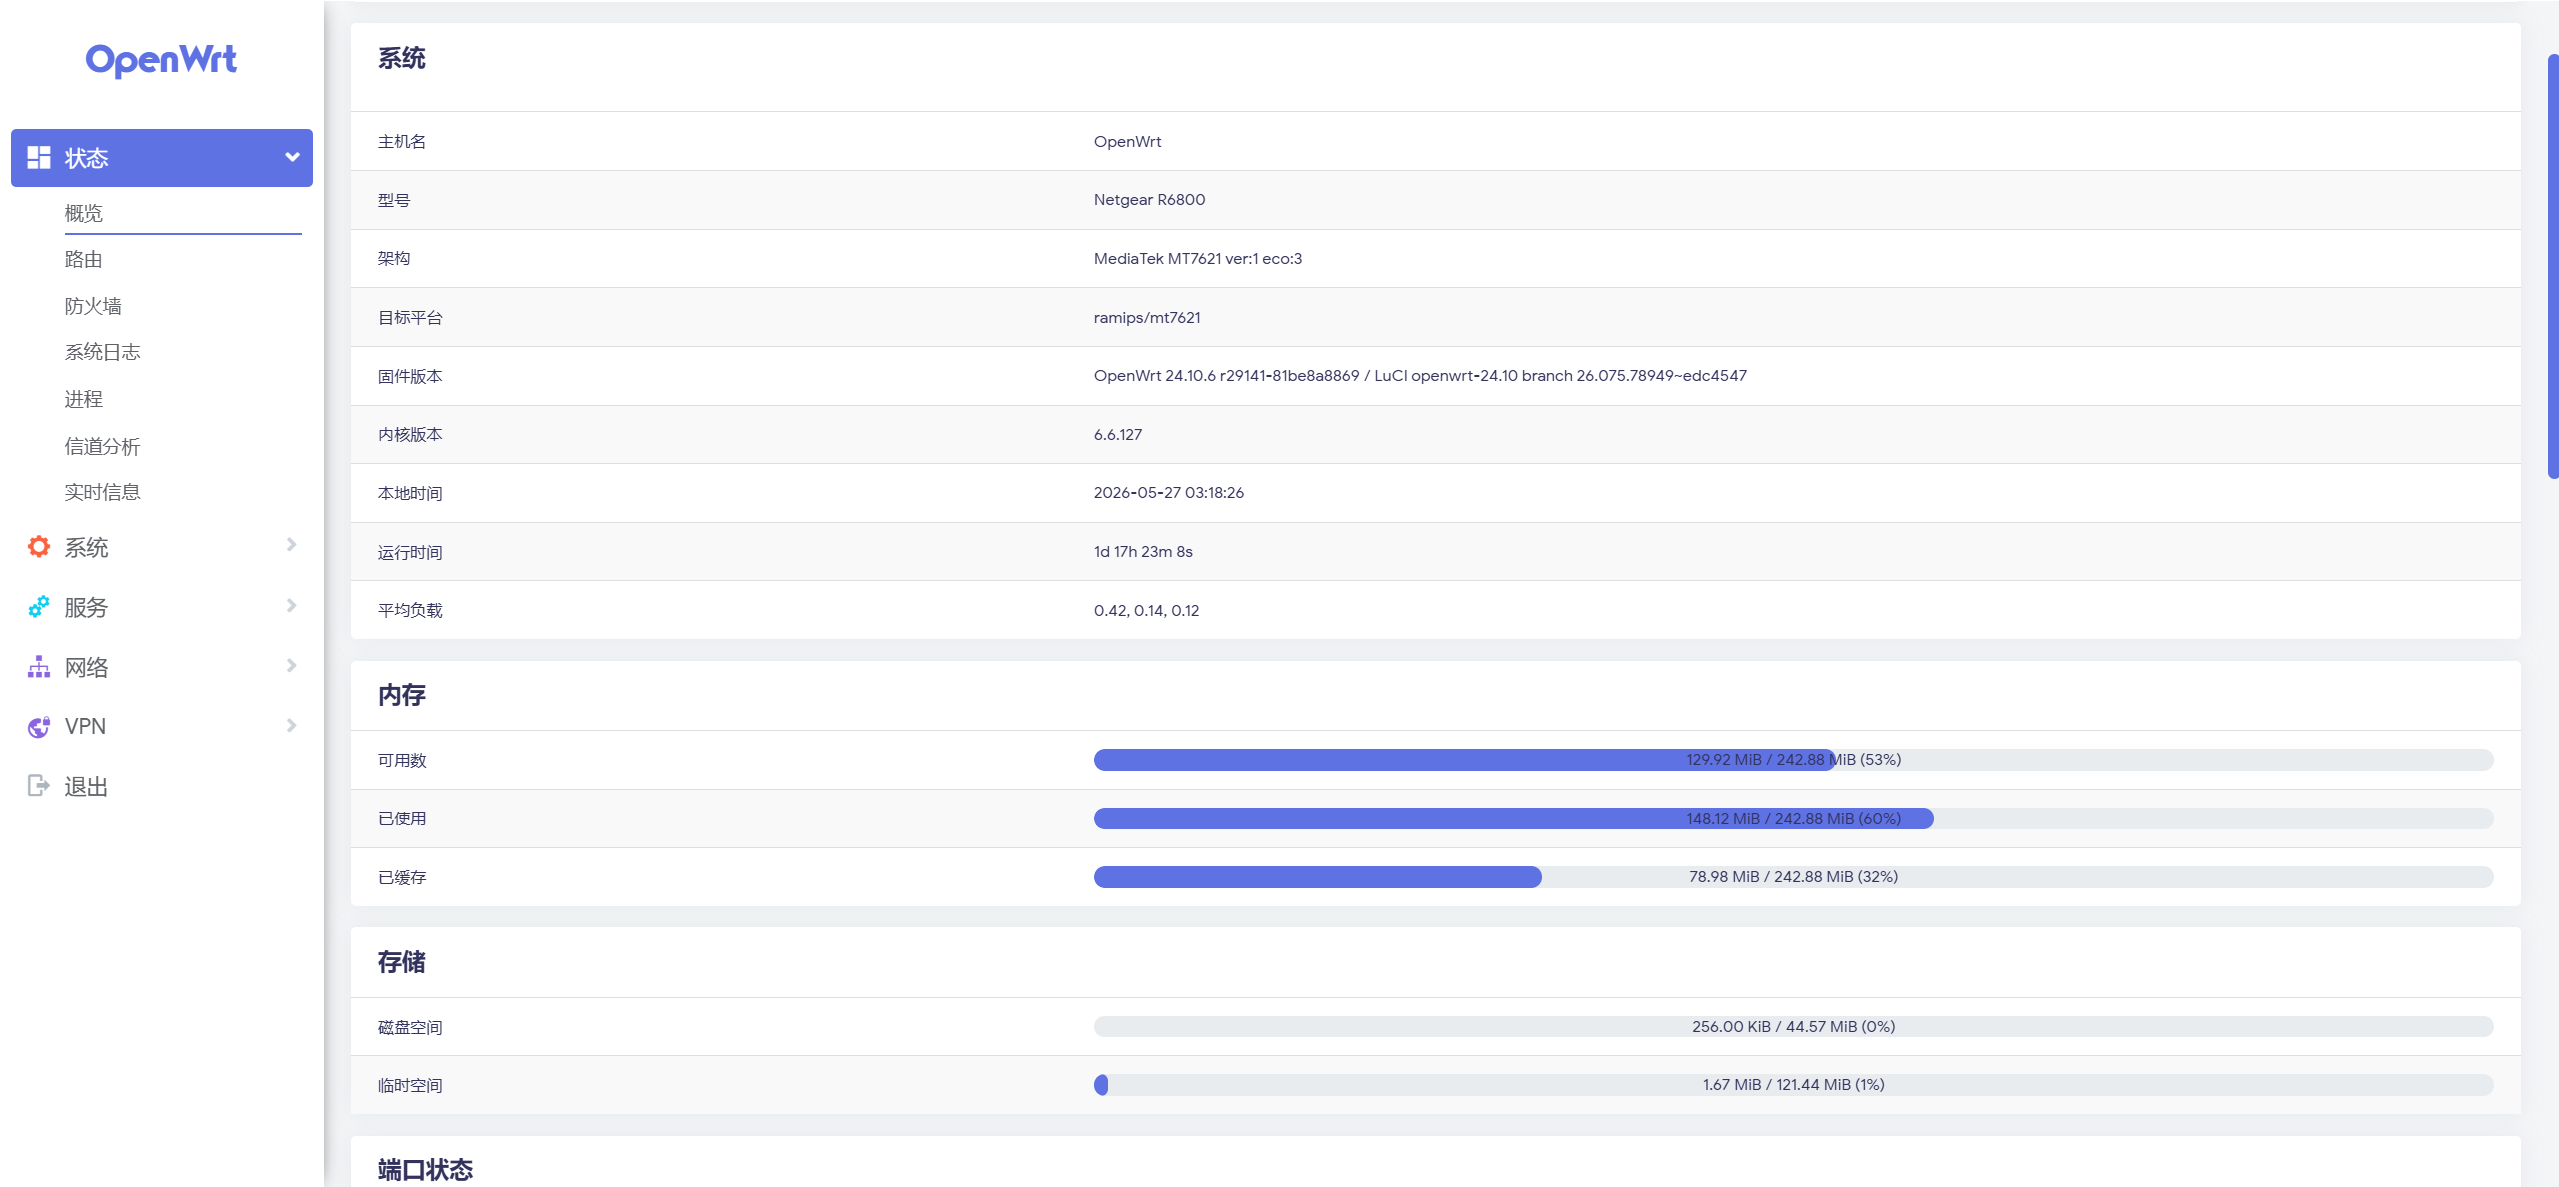
成果
致谢
韬焘